

We recently introduced the concept of string alignments, and today we are back with part two of the series: a deeper dive into the how and the why of DIY alignments.
Without yet getting into the actual alignment process, we must understand why you would need to string a car up in the first place. There are three basic adjustments that we can make on most cars during an alignment, assuming that the car offers these adjustments. They are caster, camber, and toe. Since caster and camber can be measured independently, toe is the only reason that we string up the car.
Why is that? Well, while alignment sheets will tell you the total toe of an axle, they also tell you what each wheel is doing independently, and that is important because it affects how the car tracks, how the tires wear, and how the car handles.
If the front car has the proper amount of total toe, but one corner has significantly more toe than the other, then the car's steering wheel is going to naturally turn off-center if you let go of the wheel while going straight**. Or, if you hold the wheel firmly dead-center, then the car is going to track off in one direction and won't drive straight.
**The ability for a car to track straight when you let go of the wheel is mainly due to the front caster angle. If one side has more than a couple tenths of a degree than the other side, the car will "pull." This is NOT a function of the front toe angle, so changing front toe isn't going to make your car pull in one direction.
In the rear, the effects of uneven toe can be more extreme, since the rear wheels don't move freely on an axis the way the front wheels do. If the rear wheels are not aligned in relation to the front wheels, then you create thrust angle, which makes the car crab walk sideways (you've probably observed this driving behind an old solid-axle pickup truck).
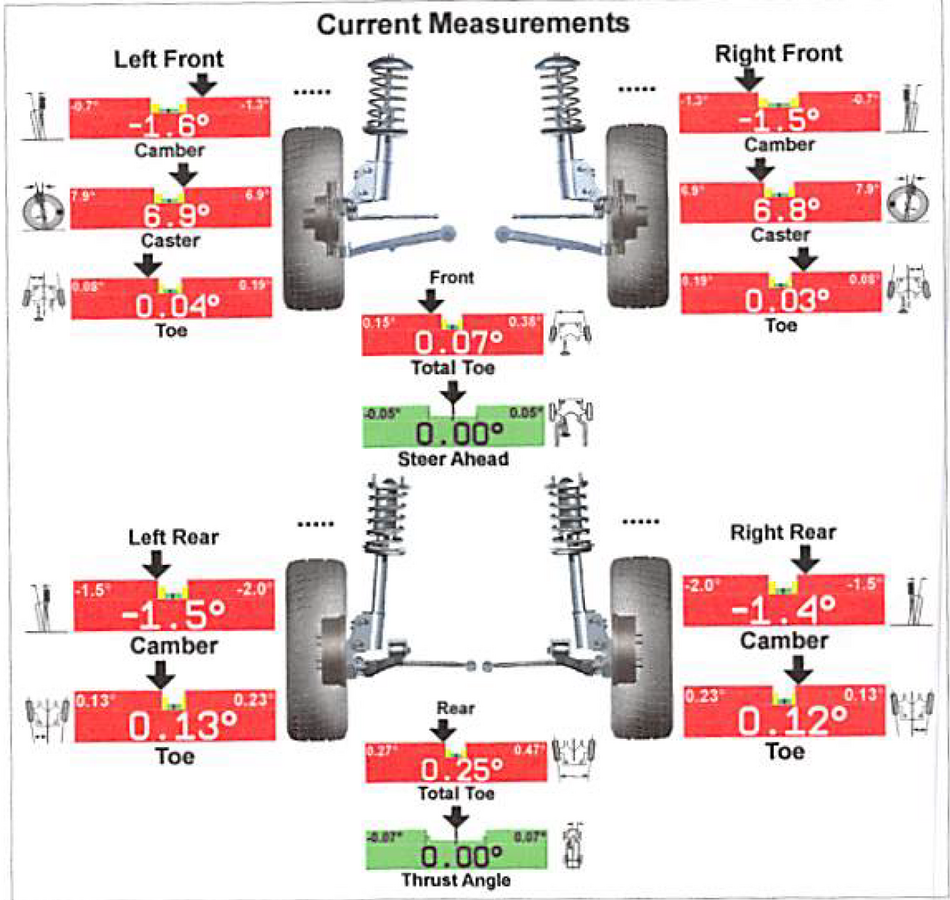
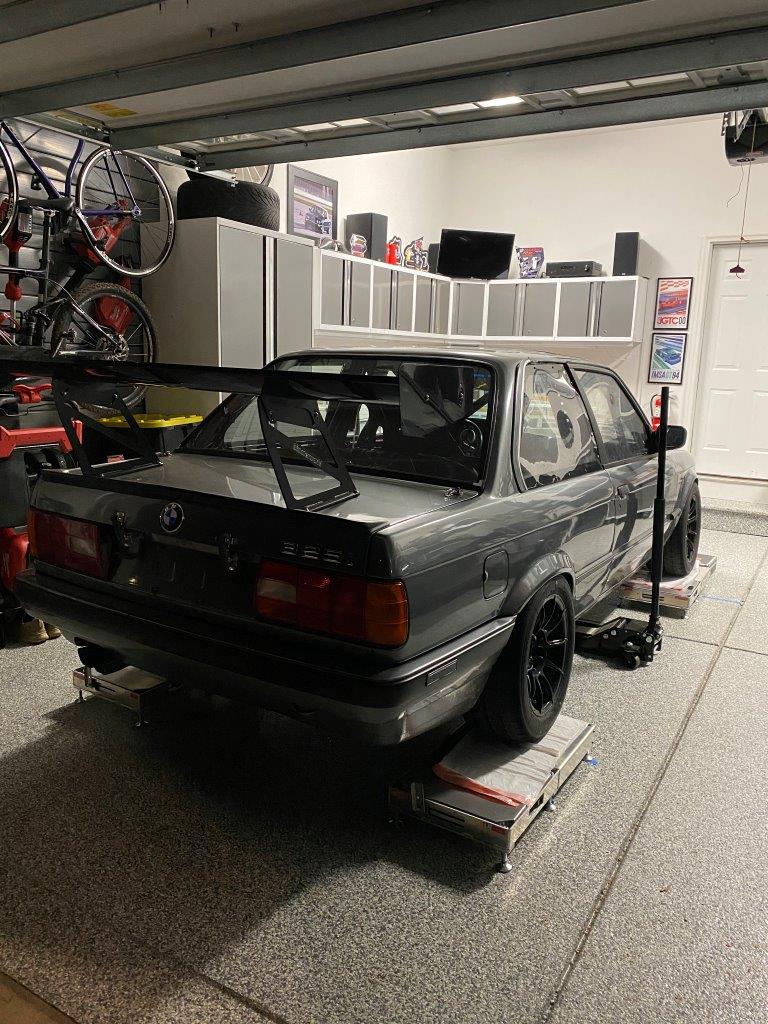
To give a real-world example, before I recently aligned my new E30, the rear end had 1/32" total toe-in. Since you generally want toe-in in the rear, this seemed okay when measuring the total toe with toe plates. However, the car didn't feel right to me on a test drive. The rear of the car felt out of alignment with the front, and there was a rear steer sensation on left turns. Rear steer is when it feels like the back of the car is steering itself, rather than following the front of the car.
When I strung up the car, I found out that while the car had 1/32" total toe-in (seemingly okay), that was because the car had 1/32" toe out on one side, and 2/32" toe in on the other side. These odd measurements meant the car had thrust angle, which lead to the weird handling on the test drive.
Now that we have a better understanding of why we need to string up the car in the first place, let's dive into more detail about the how of DIY alignments.
Measuring Caster
Caster can be tricky to measure at home with any precision. Caster may not even be adjustable on your car, in which case you shouldn't fret about it, unless the car pulls heavily to one side.
Even if the caster is adjustable, if the car is not pulling when driving straight on a flat road, then it's probably not worth messing with the caster. While a laser alignment rack can measure caster quickly and easily, doing it at home and getting accurate, repeatable results can be difficult without expensive equipment.
Even then, caster adjustment isn't commonly used as a tuning method in chassis setup. It's more of a set it and forget it kind of thing.
There are some relatively inexpensive options for measuring caster, such as magnetic vial gauges, but I question their usefulness. They can measure camber within 0.25°, which is okay, but they can only measure caster within 0.5° (at best). In order to eliminate steering pull, you'd ideally want caster within 0.1-0.2°, so these gauges might not help much.
Caster summary: Unless the car has a known issue with steering pull, trying to dial in the caster might not be worth your time. The frustration factor might make it worth bringing the car in for a laser alignment at a race-friendly alignment shop.

Measuring Camber
Thankfully measuring camber is the easiest aspect of DIY alignments. You need a straight, flat surface that you can lay across the tire/wheel, and a measurement tool. The aforementioned vial gauges work alright for this, with reasonable accuracy, but digital angle finders are more accurate and inexpensive enough to be worthwhile.
I've found that toe plates work well for measuring camber. Press the plate flat against the tire's surface, and then press the digital angle finder against the toe plate. This gives me repeatable results, and the accuracy should be within 0.1-0.2°, which is good enough for camber.
You can also improvise with a straight edge or other surface that can span the width of the tire/wheel. It needs to be tall enough so it can't "pivot" up or down on the wheel, which would skew the camber reading, and it needs to be thick & strong enough not to flex.
There are higher end camber gauges (that will also measure caster), but the results aren't going to be much easier or better than using some sort of plate and a generic digital angle finder. Plus, you'll still need expensive turn plates to use them to measure caster accurately.
Camber summary: Camber is a great tuning tool, and it's the easiest and cheapest part of doing your own alignments. Remember that changing camber will change the toe of that wheel, and vice versa.
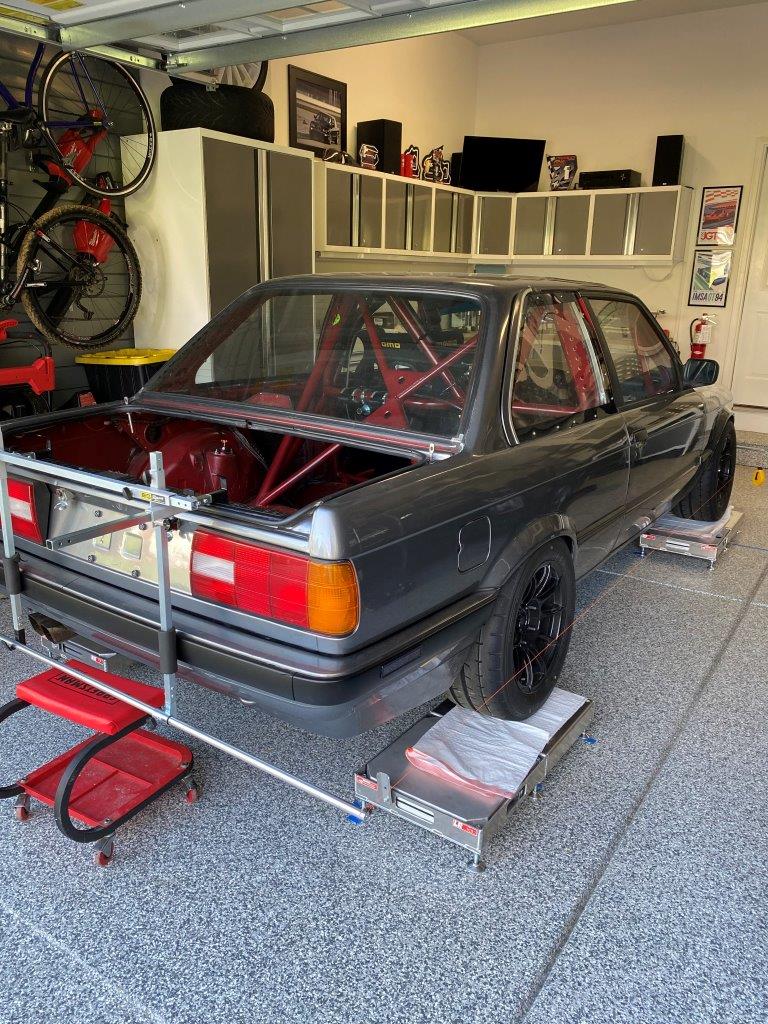
B+G String Kit in action.
Measuring Toe
Ahh, the meat and potatoes of a string alignment.
As we talked about at the beginning of the article, in order to properly adjust the toe of a car, you need a point of reference that is squared to the car itself, in order to avoid introducing steer-ahead or thrust angle.
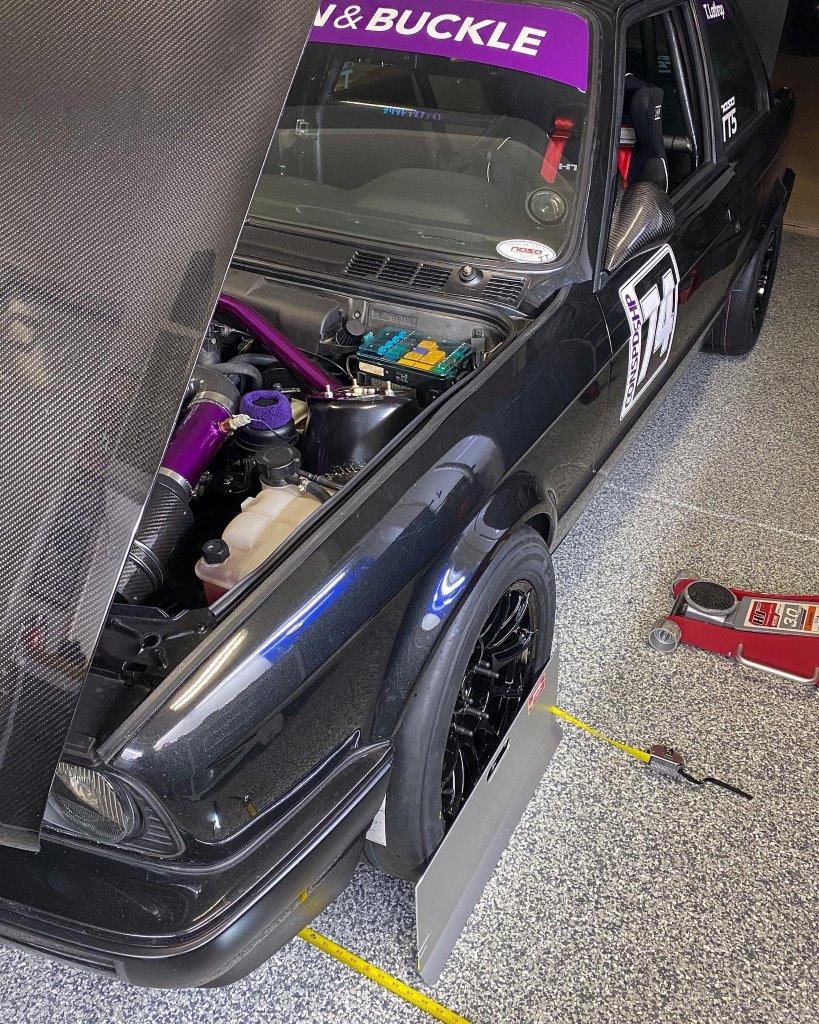
A steering wheel holder is helpful to make sure the steering wheel stays centered while you make adjustments to the front toe. It's easy to forget to keep checking the steering wheel when you are working. Oh, and with all of these measurements, folded up trash bags placed under the tires do a good job as make-shift slip plates, to ensure the tire tension is not keeping the suspension bound.
Your string setup could be as simple as string spanning across jackstands on either side of the car. The problem is ease of use and repeatability. During the alignment you will likely jack up the car, make adjustments, and roll/bounce the car (to re-settle the suspension and take the tension off the tires). Each time you do any of those things, you will have to re-measure the string to make sure it is centered to the car. This can become very tedious.
There are some nifty string kits, such as the B+G version that I purchased, that hang the string frame from the car. The frame is rigidly mounted so once you have the strings centered and setup properly, it will stay that way through the whole alignment, unless you do something dumb like walk directly into the frame.
Since it was my first time using the B+G string kit, I checked to make sure it was still centered several times throughout the alignment, and it always remained spot-on. Without having to re-adjust the strings, the process was a lot easier.
Once the strings are precisely centered, you can begin work on the toe alignment. Using a precise ruler, you take measurements from the front and back edges of the wheel, and the resulting difference is your toe. If the front of the wheel is further out than the rear, you have toe-out. If the rear of the wheel is further out than the front, you have toe-in.
You then use your car's available adjustments to dial the toe to your liking, adjusting each wheel individually. If you want 1/16" of total toe-out for the front axle, you would adjust each wheel to have 1/32" toe-out.
This process is fairly easy, but it can require a lot of back-and-forth between adjustments and re-measuring, over and over, until things are perfect. We are looking for a high degree of accuracy on the toe, so it's worth re-checking things several times before you lock things down.
Toe summary: This is going to be the tedious part of the alignment, but you can set yourself up for success by buying or building a string setup that moves with the car so you don't have to re-center the strings every 10 minutes.
Our String Alignment series is to be continued.


Grassroots racing, properly overthought.