

In-car video is an important tool for any type of on-track driving. Reviewing video footage can help you learn from your mistakes, see where you are leaving time on the table, solicit feedback from coaches and other drivers, and serve as a record for any incidents that occur on the track. By the time you are racing, video is typically mandatory, but as a driver you'll benefit from using it at any skill level and with any organization.
There is no doubt that video can be daunting, and I've had a few friends ask me about my video setup, even though it's nothing special. I use a GoPro Hero 9 Black, but I am going to try and keep the advise generic so it can apply to most "sports action cameras" on the market.
Settings, Settings, Settings
There usually aren't a ton of settings on a sports action camera, but the ones that it does have, you want to get right.
Video Quality / Size (Resolution)
There are compromises when it comes to quality and size. Higher quality video takes up more storage space, and vice versa. Sure, memory cards have gotten pretty cheap, but there is also a convenience factor with large video. After a day or two of track driving, you are likely to have several hours of video, and thus it can take hours to download that footage to your computer (where it will then also take up a lot of space).
Personally, I am happy with 1080p video, so I record as well as export my videos at that resolution. I find 1080p to be a good compromise between video quality and file size. 720p has noticeable quality degradation, and 4K video increases the file size too much for me.
When it comes to the frame rate, unless you are doing slow motion or any fancy editing, 30 fps (frames per second) should work well for just about everybody, and will also help keep the file sizes down.
If you want max quality at all costs, nothing is going to stop you from recording at something crazy like 4K @ 120 fps, but just be prepared for your memory card and hard drive space to be eaten up quickly.
Spot Meter
This little setting is the hidden gem of all in-car videos. Typically a camera is going to "average" the exposure of the scene, which means its going to take all of the brightness information available and try to average it all out to 50% grey.
The problem is, there is a huge dynamic range being captured by the camera, and since the frame is likely to include more of your car's interior than the track in the exterior, the camera tries to punch up the exposure to make the dark interior appear brighter.
What ends up happening is that by brightening the car's interior, the exterior and the track itself end up completely blown out (over exposed), so that you can barely see anything outside the car.
By using a "spot meter," the camera more heavily weights the center [spot] of the frame when calculating the exposure. In our case, the track is likely to be the center of the frame, and thus the camera will do a better job of exposing the shot so that you can still see track outside, even if your car's interior is relatively dark in comparison.
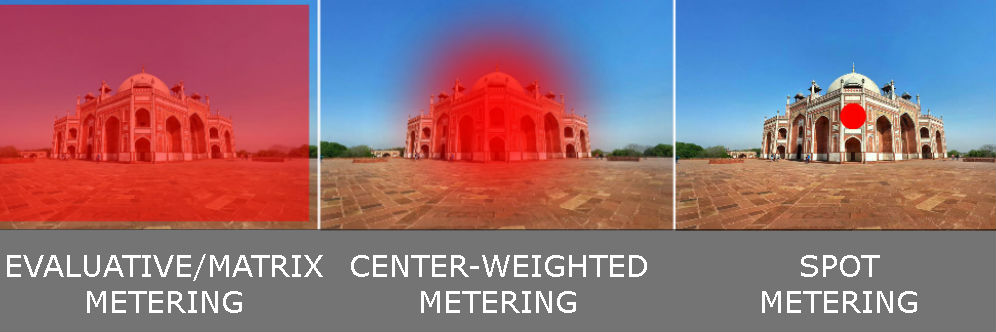
Turning on the spot meter is likely the single most important thing to do when setting up your camera for in-car and on-track use.
The spot meter is going to be an on or off setting, and you can usually find it under the camera's video settings or general settings. Make sure to turn it on, since it will be off by default!
Newer models of GoPro cameras have changed how this function works; you have to select an area to "spot" each time you turn on the camera. My work-around is to set the EV Comp (exposure value compensation) to a negative number. I use -1.0 since my car's interior is black. Your mileage may vary. There are firmware versions called GoPro Labs that will allow you to lock spot metering to alyways-on.
Image Stabilization
Some cameras are going to have a stabilization setting that will help smooth out shakes and vibrations. This can be achieved via hardware (the lens mechanism), software, or both.
At the extremes of stabilization, the effect can look very fake and post-processed. Your race car is stiff and bumpy, so the video should be too, at least to an extent. Start with the default setting and see if you have any complaints. It is going to take some experimentation to see what works best for your car and camera combination.
GoPro calls this feature "HyperSmooth," and I use the default setting of "High" on my camera. The options are Off, On, High (default), and Boost: 'On' is like low, 'High' is like medium, and 'Boost' is like high.
Other Settings
There shouldn't be much else to configure on the camera, but the "auto off" power settings should be considered. You generally don't want to allow the camera to entirely turn itself off automatically, or else it will probably miss something important on track, especially if you are delayed on grid for whatever reason.
You CAN allow the camera to turn off the screen(s) automatically, which will save battery life, as well as keep the camera running a bit cooler, helping avoid a thermal shutdown.
GoPro cameras also have built-in tricks such as one-touch record (powers on and starts recording with one button press), or starting recording automatically when the camera sees power, but those are outside the scope of this article.
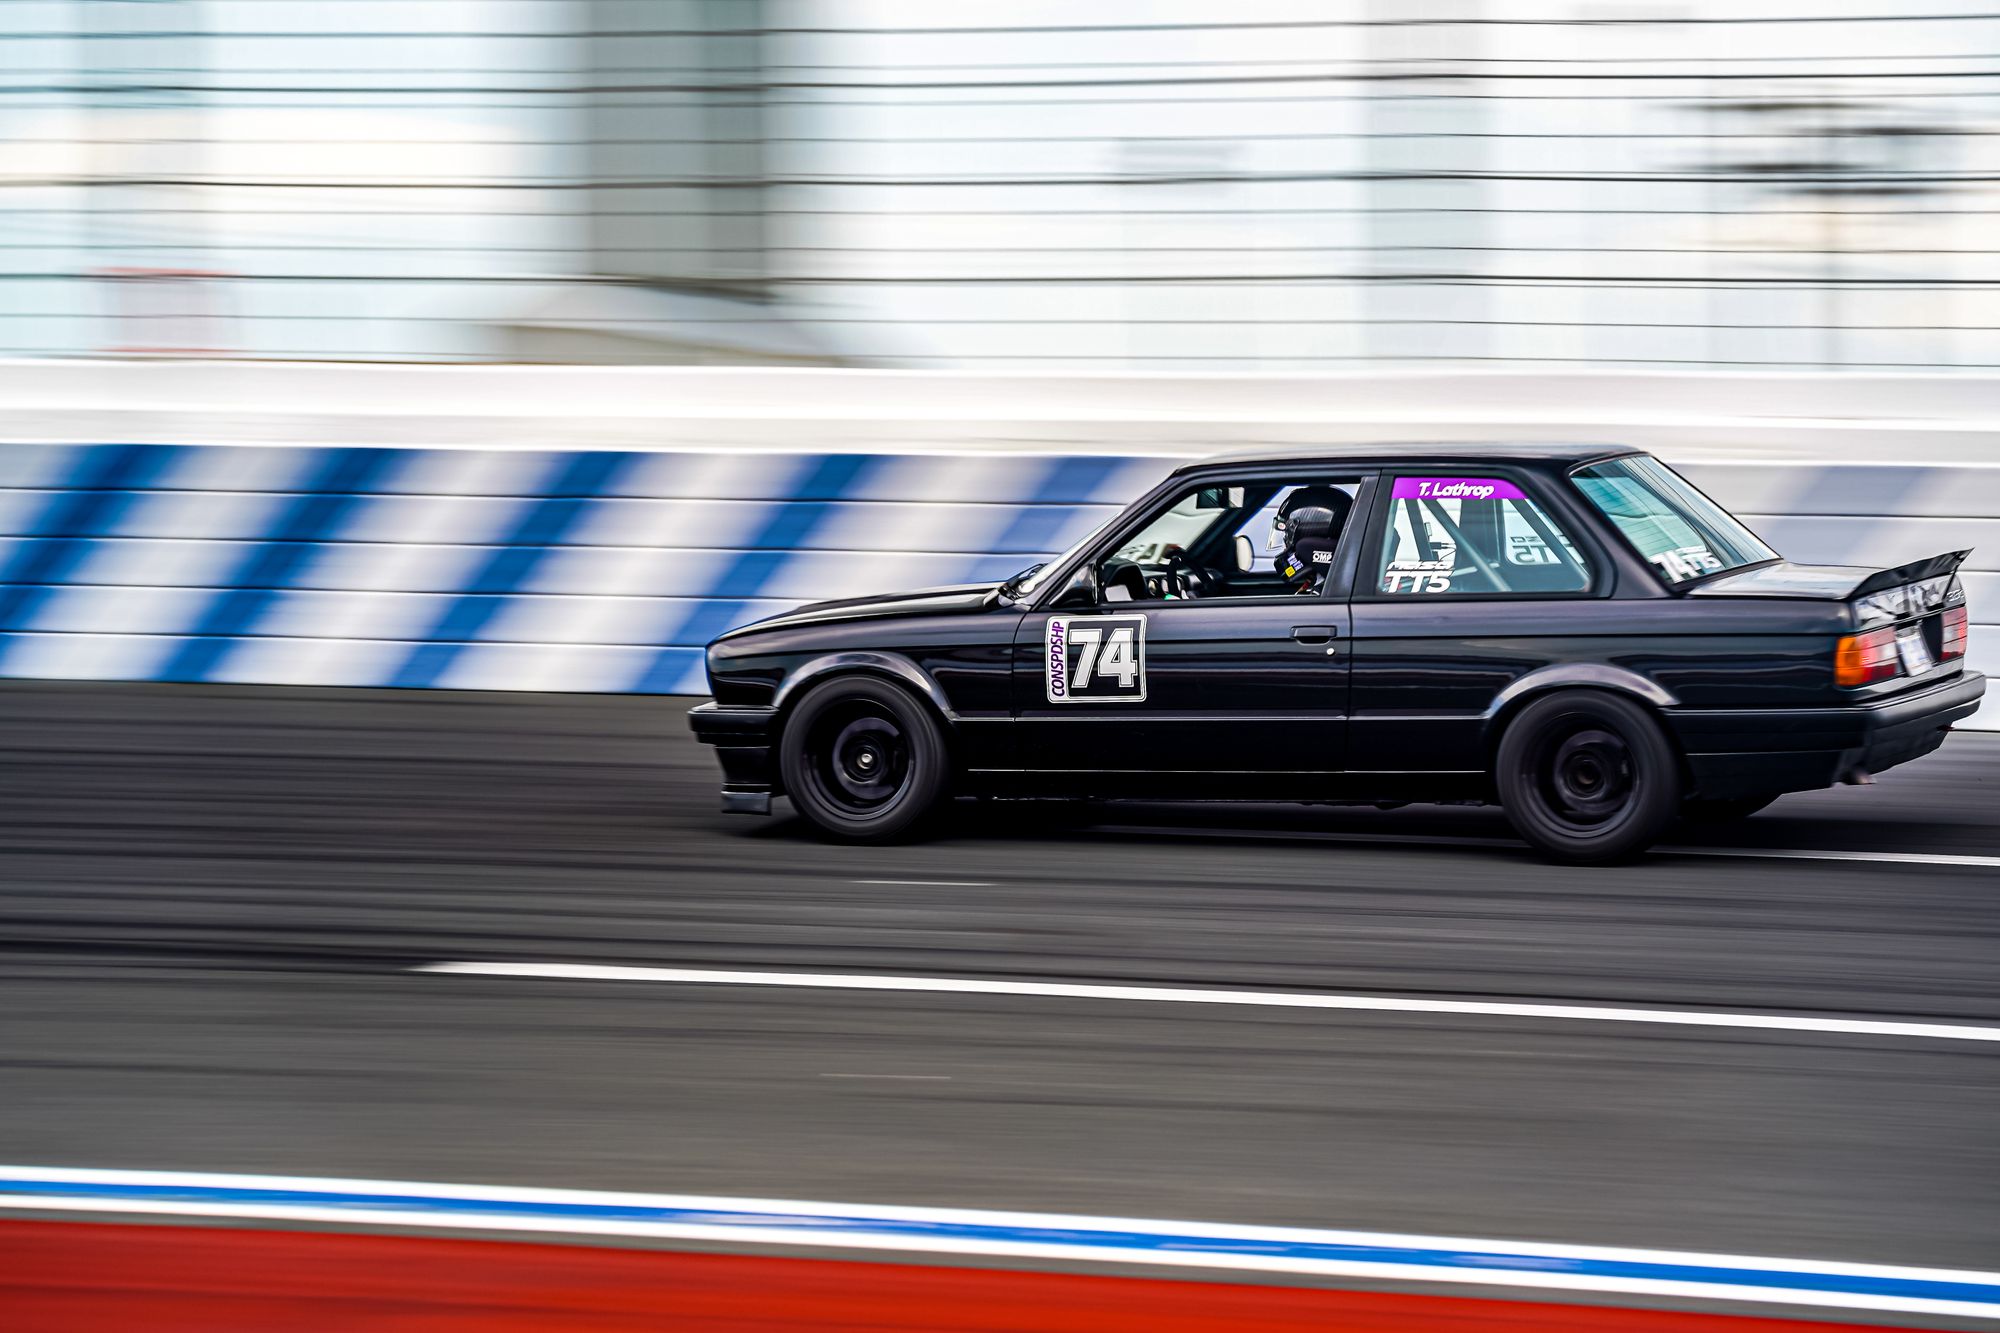
Mount It
It might seem obvious, but how (and where) you mount your camera is going to have a large effect on the outcome of your videos.
You want the mount itself to be solid enough that the camera is not flopping around, but not so rigidly mounted that it will allow the camera to vibrate and shake like crazy. Not only will vibration look awful in your videos, but it could also lead to a premature death for your camera.
For use on a roll bar/cage, I like the official GoPro large tube mount. It works on tubes from 1.4" to 2.5" in diameter, and it has plenty of rubber isolation to prevent bad vibration. It uses their standard clip-in setup, and can rotate to help angle the camera properly, if needed.
Other than that, you probably don't need much other than some different adapters/extensions to get the camera in the position and angle that looks best. GoPro cameras come with a variety of extensions, but if you need more, I've found the third party generic options work just as well, at a fraction of the price.
If your car doesn't have a roll bar or cage (if you are tracking your car, it should), you'll have to get creative with a mount. I've fashioned mounts using headrest legs before, or you can use a suction cup mount on the interior glass.
Aim It
After you've procured the mounting method, you are going to want to test where the camera is aimed. Using your cell phone and the camera's "live preview" function makes this easy. You can also try and climb into the back of the car to see the preview screen, use the front preview screen (if applicable), or just look through the back or side window of the car if visibility allows.
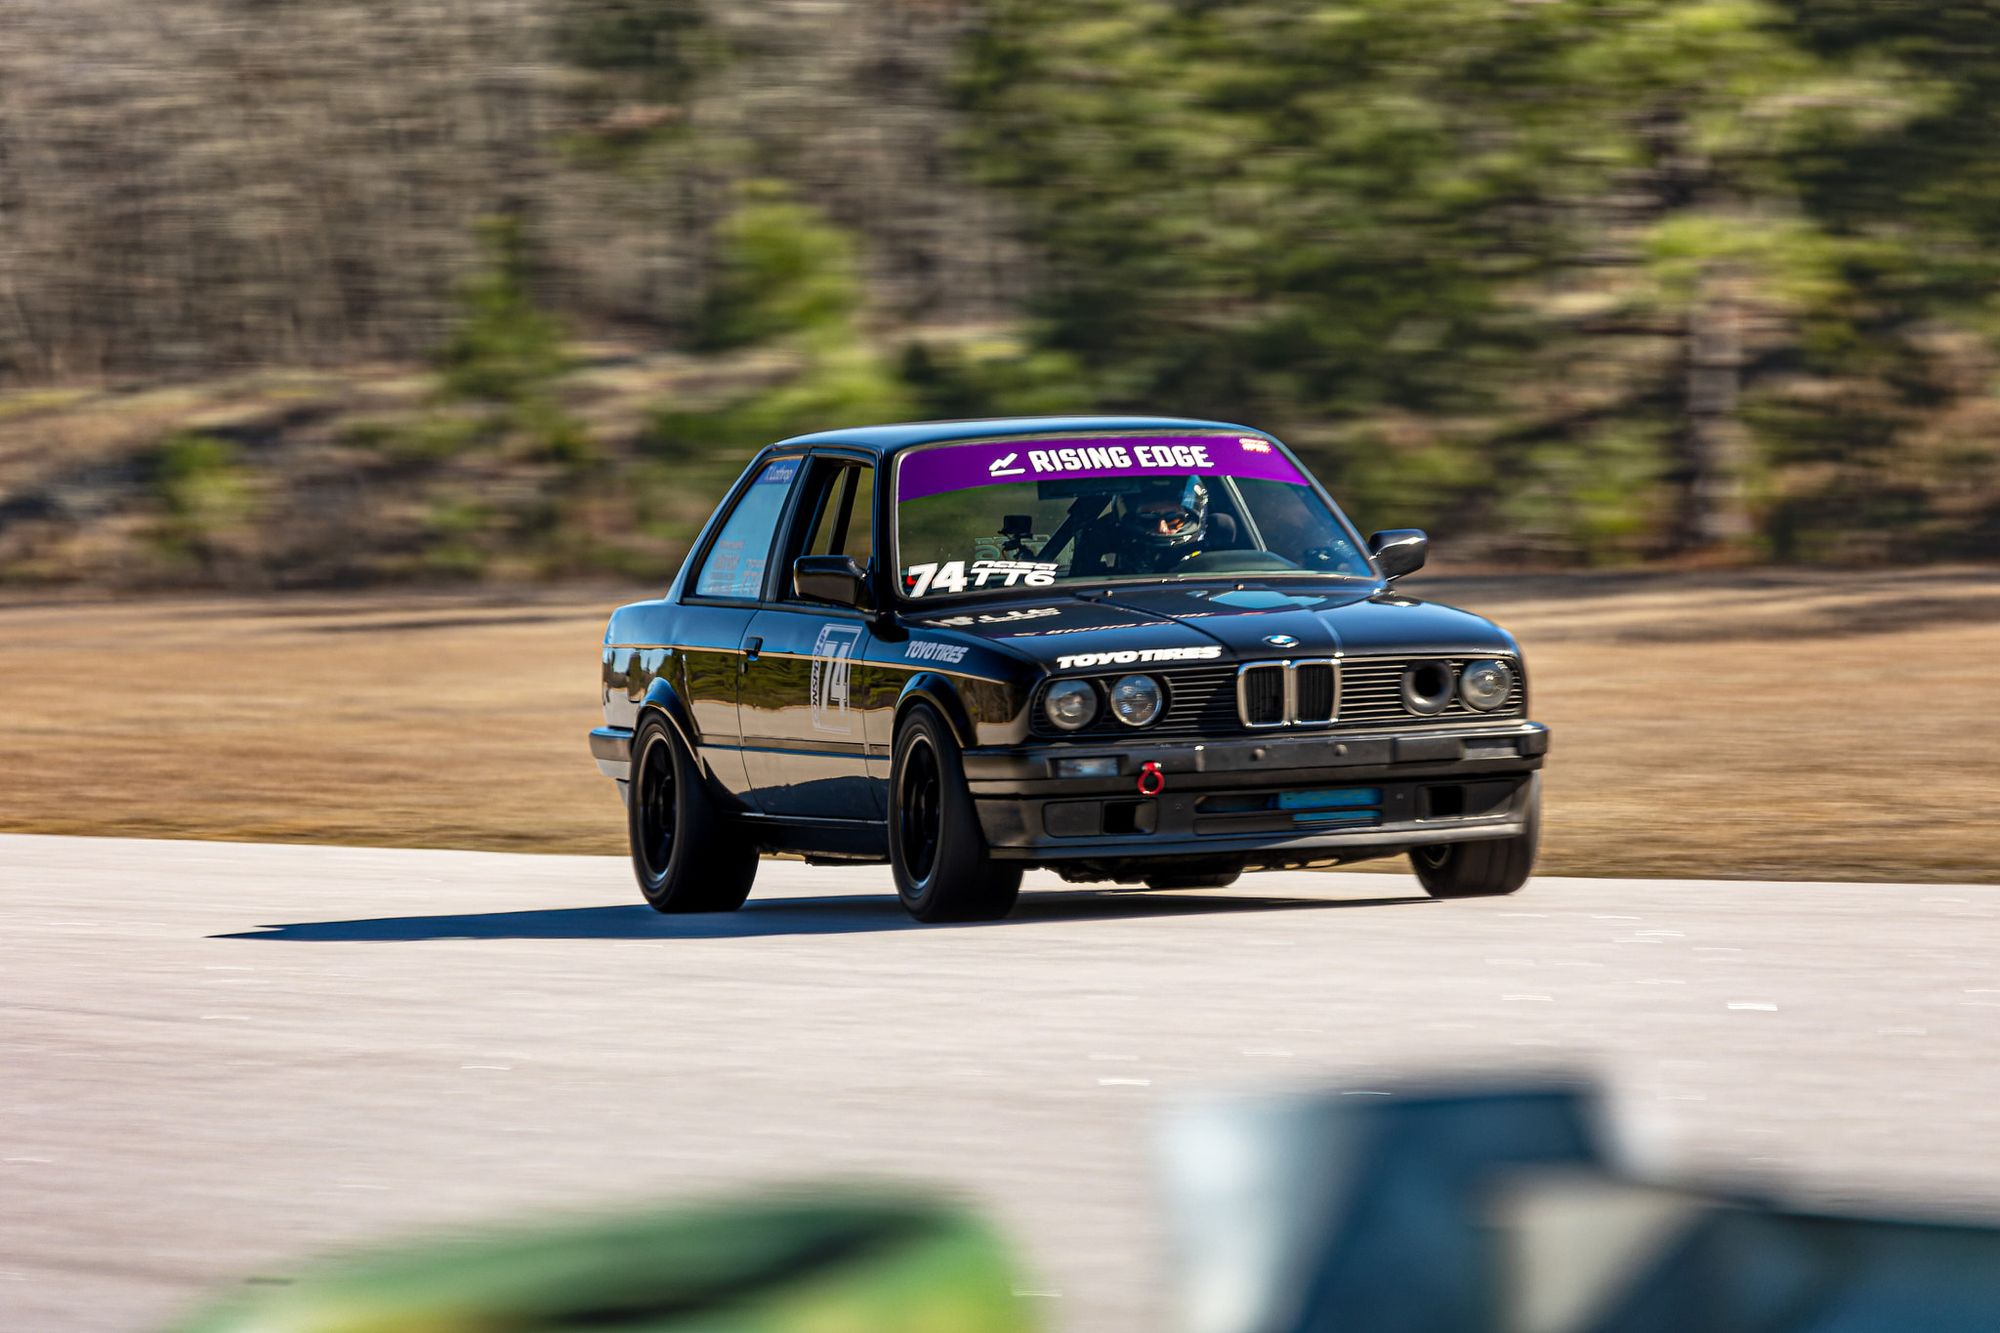
An example of an in-car video from my E30.
The goal here is to get as much of the good stuff into the frame, without any wasted space. We don't need to see what's going with the roof of your car, so usually mounted around shoulder or head height and angled slightly downwards works well. The goal is to see as much of the track ahead of you as possible through the windshield, as well as hopefully being able to see your hand inputs on the steering wheel and the shifter, and possibly even your footwork on the pedals.
Once you have the camera where you'd like it to be, go ahead and tighten down all of the mounting hardware.
Plug It In
Dealing with camera batteries at the track is a huge pain in the ass. Your car can easily charge all of your small 5v USB accessories, like your GoPro, if you add a USB hub to it. You can run the hub off switched 12v, or wire it with a toggle switch that you have to turn on manually. The goal is to keep the battery from draining while you use the camera, so you never have to worry about the battery at all. Seriously, you have more important things to remember.
Technically, you can run most action cameras plugged in only, with the battery removed. The downside to that is if the camera loses power for any reason at all, it will shut off immediately, losing any footage that it hasn't written to the memory card. The camera doesn't write to the card continuously, so you can potentially lose an entire session if the cable wiggles lose, your switch fails, or the car shuts off for some reason.
In the end, my experience is that it's best to start the weekend with a partially charged battery (say, 70%), and to let the USB cable continue to maintain or charge the battery while you are driving the car and using the camera.
Something like the hub above can be hidden under your dashboard and power any USB accessories in your car, such as the camera, lap timing device, or even topping off your cell phone. Simply cut off the cigarette lighter plug, and connect the appropriate wires to a switched 12v source and a ground, respectively.
Record!
This one is going to be on you! It's part of my on-grid routine to put on my sunglasses, slide on my gloves, and start my GoPro when the 3-minute warning is called.
The harder part for me is remembering to turn off the camera after I'm back in the paddock. With sufficient battery and memory card, the camera will keep recording for hours (or until your next session), so being good about turning it off is important.
Review / Edit / Upload
When you're done for the day and relaxing at the hotel, or back at home, it's time to download the videos to your computer and/or your phone. It's usually pretty hard to make out much detail on a display as small as a phone, so I'd suggest reviewing your video on a laptop at least, if not a desktop screen or TV.
If all you want to do is review the video yourself, you won't have to do any editing or alteration. If reviewing with a coach in-person, the same would apply.
If you want to upload sessions, laps, or clips to YouTube or Vimeo for the world to see (or at least your mom and one of your friends), then you'll have to do some light editing, at least. GoPro's Quik app used to be pretty great on desktop, but I can't figure out how to use it anymore. Their mobile Quik app works well for editing short clips, though. When it comes to third party apps, there are plenty of basic video editing programs that can help you segment clips easily.
RaceRender is a reasonably user-friendly video editing app geared towards motorsports. It works pretty well, but it can have a bit of a learning curve, and it is starting to feel a bit outdated, with very few updates or features added since 2018. There is a free version that watermarks your videos and limits you to 3 minute clips, but if you want to use the full version, it's pretty cheap to buy outright.
Output Settings
When saving your clips for YouTube upload, you'll general want to export them at the same resolution and frame rate that your recorded them at, unless you recorded really high and want to scale them down for the web.
Since I record at 1080p and 30 fps, I export using the same. If you are a Windows user and saving for YouTube, a common output setting might look like:
- Codec: H.264
- Resolution: 1080p (1920x1080)
- Frame Rate: 29.97 (essentially the same as 30 fps)
- Audio: 16-Bit 48000Hz
Well, there you have it, your RISING EDGE crash course in camera setup for in-car video! Hopefully you learned some new tricks here that will help improve your track videos.
If there is one thing I can leave you with, it is: don't let you video go to waste. Spend an hour or two reviewing your footage after every track weekend, even if you don't edit or share any of it.
I promise you, you will learn a lot from reviewing your videos.


Grassroots racing, properly overthought.